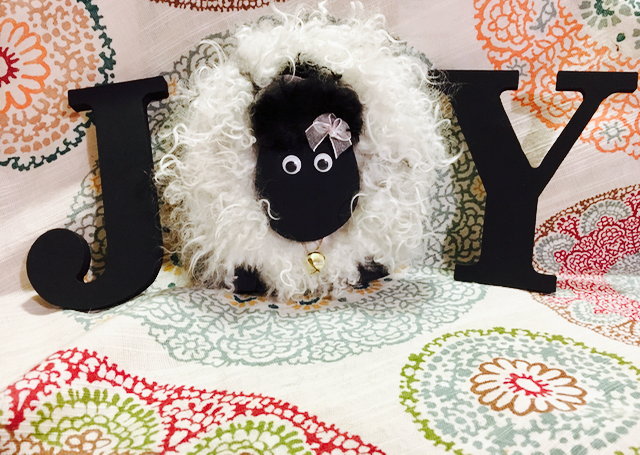
In this tutorial, I am going to show you how to make a super-cute sheep letter “O” with a thick, free-standing, wood block, for your home.
How to Make a Sheep Letter “O”
As you may already know, I home-tan my sheepskin and lambskin pelts from my flock of Icelandic sheep. I use these gorgeous skins to make home decor items, such as throw pillows and upholstered furniture. Afterward, I’m often left with small scraps of completely gorgeous sheepskin that I had no idea what to do with! And that got me thinking about how to use those scraps to make other great home decor items.
This is a great stand-alone sheep home decor item. But you may also like to have it as the letter “O” in a meaningful word. Here’s some of my favorite word ideas for using the sheep letter “O”:
JOY 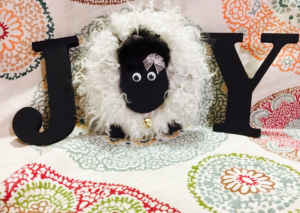
LOVE
HOME
GROW
HOPE
WELCOME
What You’ll Need
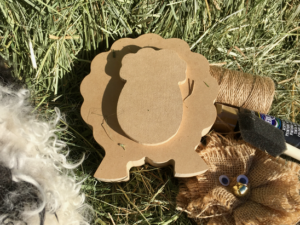
- DIY Sheep Crafts Sheep Letter “O” Kit (kit includes sheep letter “O” block, paint, foam brush, googly eyes, bell, twine, and optional sheepskin scraps)
- Sheepskin or Lambskin Scraps (felted fleece, felt, or scrapbook paper is great too)
- Hot Glue or a Clear Glue, that bonds both leather and wood
- Additional embellishments, if desired (bows, glitter, stickers, ribbon)
- Other Letters, if you wish to make a word, for example “J” and “Y” for “JOY”
- Pen
- Pointed Tip Scissors
Step 1: Paint Face and Feet
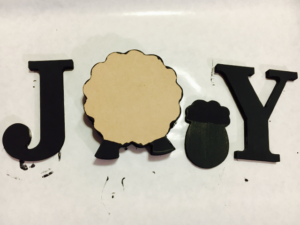
Paint the wooden sheep pieces and desired letters for your awesome home decor project!
Paint the sheep’s hooves with acrylic paint and foam brush, included in the DIY Sheep Letter “O” Craft Kit. Set the pieces aside for several minutes to dry. While your sheep in drying, you can also go ahead and paint any wood letters you desire for this project.
You can also use scrapbook paper and Mod Podge to decorate your sheep and letters instead of sheepskin.
Step 2: Create Your Sheepskin Pieces
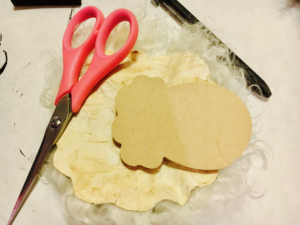
Use the two wood sheep pieces to trace a pattern with a pen onto the skin-side of you sheepskin scraps. For the larger body piece of wood, you can leave out the leg and feet area. For the face, you only need to make a sheepskin “hat” or fluff on the top of the head piece.
Cut the sheepskin along your trace lines with a sharp knife or pointed tip scissors. Be careful not to cut the fleece fibers.
Step 3: Glue Sheepskin to Wood
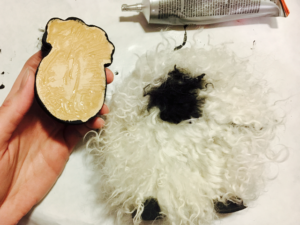
Carefully glue the sheepskin your just cut onto the wood pieces. Use hot glue or a clear glue, that bonds both leather and wood. I use Gorilla Clear Grip Contact Adhesive.
You may wish to shear your sheep before you glue the skin to the wood. Evaluate how long you want the fleece to be. If you want the fleece shorter, use scissors to trim the fibers.
Step 4: Glue Sheep Head to Body
Use hot glue or a clear glue, that bonds both leather and wood, to glue the sheep head to the sheep body. I used Gorilla Clear Grip Contact Adhesive.
I went ahead and trimmed the fleece on the body where the head was going to be glued. This ensured the head stays put, close to the body.
You’ll also want to have the twine and bell ready for this step. The twine should go underneath the head piece slightly, so you don’t have end sticking out.
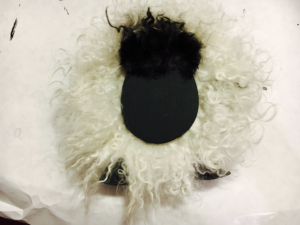
Step 5: Add Embellishments
This is the funnest step because you get to customize your sheep any way you like! You probably added the bell to your sheep already, in Step 4. Next, glue the eyes onto your sheep’s face.
You can also add other embellishments and finishing touches, like, flowers, bows, ribbon to other decorations to make this sheep your own!
Because my sheep “O” had long fleece, I did trim around her feet a bit to show the black hooves.
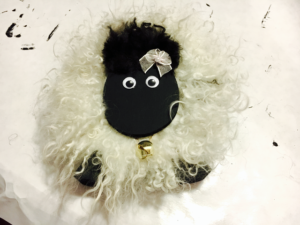
All finished! Place on top of your bookshelf, mantle, or entry table for an instant sheep touch to your favorite room!
To make things extra easy, you can purchase your very own DIY Sheep Letter “O” Craft Kit (with or without the sheepskin) HERE.
Happy crafting!
If you are having trouble, head over to the DIY Sheep Crafts group on Facebook. The community and I will be happy to help you! And remember to always…
Shepherd Like a Girl!
