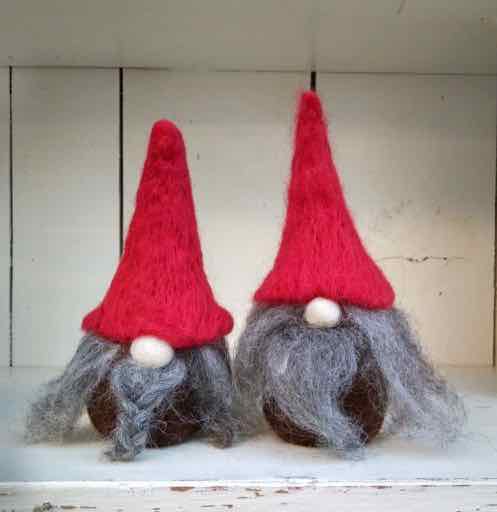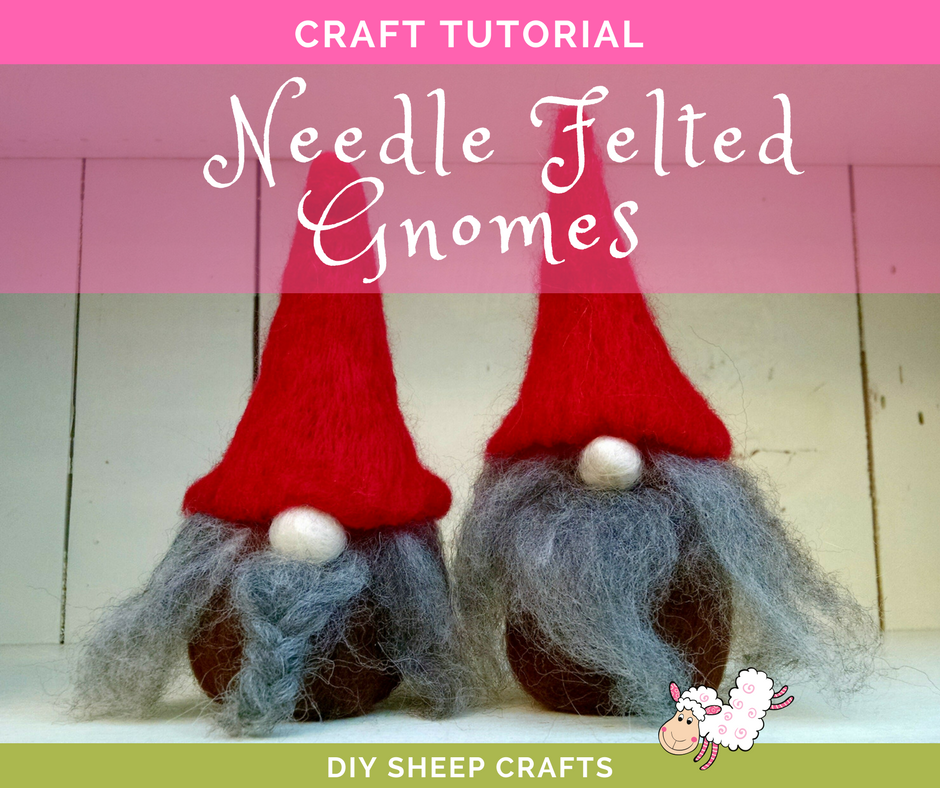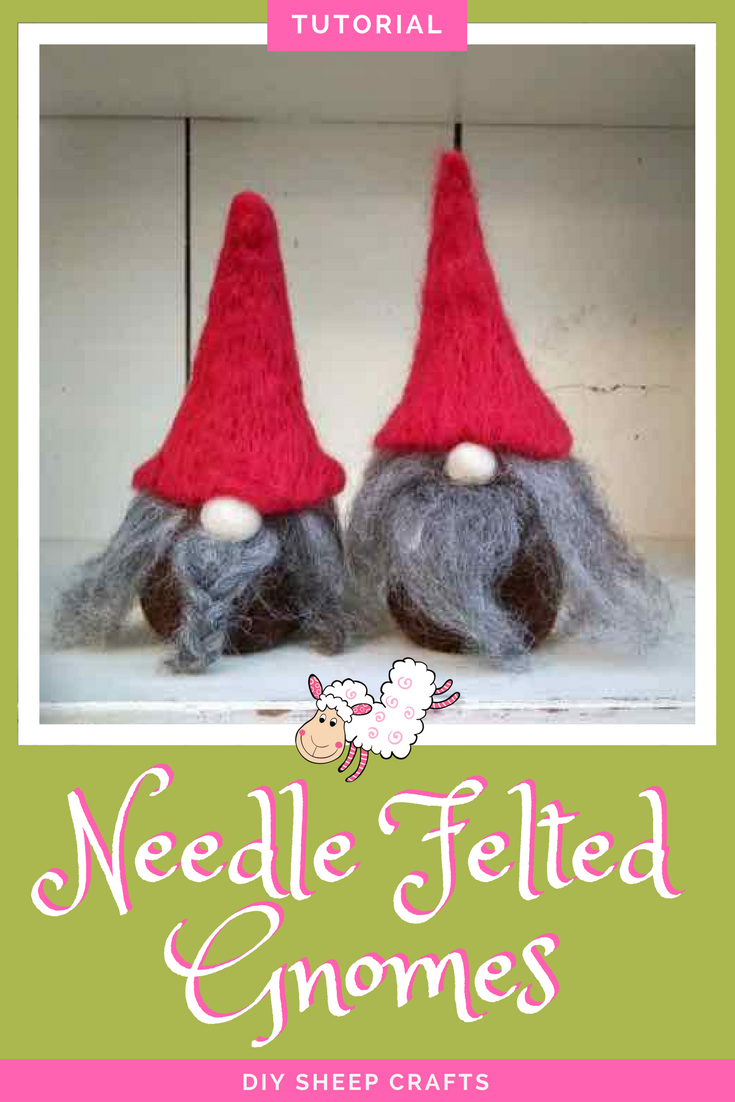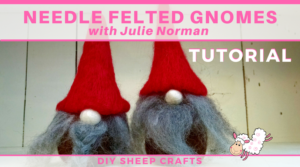
Guest teacher, Julie Norman, swoops into DIY Sheep Crafts to share her Needle Felted Gnome Tutorial. This detailed tutorial will take you through the process of needle felting a whimsical gnome, step-by-step.
How to Needle Felt a Gnome
with Julie Norman
Needle felting with wool is a popular fiber art. Combine that with the endless character of a gnome, and you’ve got a winning combination. That’s why I’m excited to bring you this special Needle Felted Gnome tutorial with expert instructor, Julie LeeSong Norman!
What You’ll Need
-
- Brown fiber for the body
- A sliver or cream fiber for the nose
- Gray fiber for hair
- Red fiber for the hat
- Red yarn for the hat
- A rolling stick
- Toothpick
- Needle felting needles (1 Medium gauge needle will work)
- Felting surface that is at least 1 1/2 inch thick (like a sponge or foam piece)
- Scissors
- Brown fiber for the body
If you would like to purchase a Needle Felted Gnome KIT from Julie, please send her an e-mail.
Safety First!
Always practice good needle felted safety:
- Pull the needle out the same way you inserted it into the wool—do not twist or turn the needle
- Needle slower when working close to your fingers
- While working, always secure the needle in your foam when setting it down
- Use the toothpick to move the fibers around and not the needle. This will keep your needle from breaking and bending
- When you break a needle, tape it inside the straw it came in and throw it away
How-To Gnome
Step 1: The Body
You will need the brown fiber, rolling stick, red and green felting needles and felting surface.
Expert Tip: You may pre-draft the fiber to make it more even. Don’t worry if the fiber breaks, just keep wrapping it.
- Take the rolling stick and the brown fiber and starting 1” from the bottom, roll the fiber around the end. Roll it like a ribbon.
- Roll the fiber up the stick firmly, covering it in an even layer until you are 1” from the top then roll back down.
- Roll up again 3/4 of the length of the fiber and go back to the bottom.
- Roll up again 1/2 the length of the fiber and roll back to the bottom.
- Roll the rest of the fiber around the bottom—big bottoms look good on Gnomes! And fill in any soft spots. Your gnome body should look like a fat, fuzzy brown carrot.
- Using your Red or Green needle, lightly needle your fiber along the side of the rolling stick, making sure not to hit the stick.
- Needle downward on the bottom, to make the “fat end” flattish on the bottom.
- We are not being perfect in our needling here—this is just to keep the fiber together and help it take shape.
- When you feel the fiber will stay together, grasp the stick in one hand, and push the body off with the other.
- Needle the bottom end some more to get your Gnome to sit by himself. Also needle in any fluffy spots.
Step 2: The Nose
You will need the sliver of cream fiber, a green felting needle and felting surface.
- Take the cream colored fiber and make a knot in the middle of it. If you have long enough ends, you can knot it twice.
- Take one end of the fiber and wrap it firmly around the knot. Needle this into the knot until it is secure. You still want it slightly fluffy.
- Take the other end of the fiber and repeat, you should have a roundish ball.
- Look at your body and figure out where you want the nose. I usually place it on the lower half of the body and choose the side that curves outward.
- Place the nose where you want it, then needle around the base of the nose where the nose and body meet. Be careful of your fingers!
- Needle around and tap the needle around gently to shape. You can maneuver the nose in the position you want it.
- Continue until the nose is the shape you’d like and is firmly on the body. Big noses are good for Gnomes!
Step 3: Hair & Beard
You will need the gray fiber, rolling stick, green felting needle and felting surface.
- Look at your Gnome and imagine a line going around the body 1/4” above the nose. This is where you want to attach the hair.
- Pull out a tuft of hair and lay it on the “line” so that 1/2” is be- low the line, the rest is above. Needle the hair in place along the “line”.
- Continue to attach tufts of hair around, but do not put hair over his face area. Gnome should look like he had a bad hair day.
- Take the hair that is above the line and fold it down along the line. Smooth hair down with fingers or toothpick. Tuck in any extra hair if he has bald spots.
- Take another tuft of hair and eyeball where the middle of the tuft is. Hold the middle under the nose (don’t fold it) and needle the fiber in place, under the nose.
- Fold the top half of the tuft down. Needle any places that need to be secured or adjusted.
- If you wish to braid his beard, take some more fiber and secure one end underneath the beard. Split it gently into three, and braid. Needle the end of the beard so it stays secure.
Step 4: The Hat
You will need the red fiber (or whatever color for the hat), yarn,two green felting needles and felting surface.
- Take the red yarn and circle it around the top of the beard and over the nose. Add 1/4” and cut the yarn. This is the circumference of the hat brim. If you wish to make it wider, you can add a little more length.
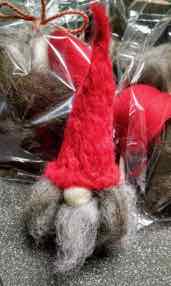
- Lay the yarn on the bottom of your felting surface. This is there so you know how wide to lay out your fibers.
- Take the hat fiber and pull tufts out of the end. Lay them in a line above the yarn. Make a nice even layer—not to thin or thick.
- Gently take the yarn and place it over the hat fiber, about 1” from the end.
- Needle one end of the yarn on the left edge so it stays. To make sure it stays secure, I leave the needle in the yarn and use a 2nd needle for the rest of the needling.
- Lightly stretch the yarn over the fibers and secure the other end to the edge of the hat fiber.
- Needle on top of the yarn, the length of the yarn and secure it to the fiber.
- Fold up the bottom 1” of the hat fiber and needle along the edge. You can lightly tack around the bottom of the hat to start the fiber felting together.
- Very gently, peel the hat up, being careful not to pull it apart. Flip it upside down and needle some more.
- See if your Gnome’s hat is the right size. Lay his nose against the brim. Is his top higher than the fiber? If so, add some lengths of fiber to the hat. Use small pieces and there’s no need to fill the whole hat in, just the low spots. You can set aside some of the hat fiber for “touch ups” later.
- Gently pull the hat off the felting surface. Make a circle with the yarn and gently tack it together so it makes a circle.
- Pull the hat over the top of your Gnome. Place the brim at the level of the middle of the nose.
- Needle gently around the hat—1/2” above the brim. This is to secure the placement of the hat.
- Needle a line vertically up the hat to the tip. Rotate Gnome about an inch and needle another line vertically up the hat to the tip. Repeat until the hat is tacked to Gnome and is starting to take shape.
- Continue to needle the hat onto your Gnome until it is a consistent density or to your liking.
- Work around the brim of the hat to even out the shape.
- Touch up the hat in places where the brown shows through.
Step 4: Finishing
You will need the red fiber (or whatever color for the hat), yarn,two green felting needles and felting surface.You’ll want to use either the green or blue felting needle for the finishing touches.
- Flip Gnome upside down and needle his bottom so it be- comes flat, if it isn’t already. You should be able to drop him from a few inches above a table and have him stay upright. Needle until he sits steady—unless you plan to attach him to something else.
- Check nose and beard and hair, tap around with your needle to settle any stray fibers and to keep them in place.
- Rotate Gnome and make sure that no body color is showing through the hat, unless you want that effect.
- Add any embellishments that Gnome would like. A flower on his hat? A butterfly on his brim? Lichen on his body? Or leave him as is.
Set him where you can see him and enjoy!
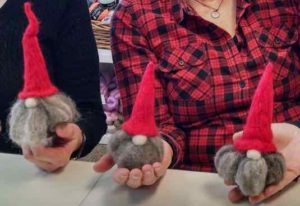
We hope you enjoyed making your Gnome! To see what other projects you can
make, visit Julie Norman’s website for upcoming classes, events and news and be sure to sign up for her newsletter while you’re there… And be sure to visit her Facebook page, The Pieceful Ewe, for the latest updates.
The Pieceful Ewe – Julie LeeSong Norman
© Julie LeeSong Norman 2018
Happy crafting!
If you have any questions, or want to share your gnome-making journey, head over to the DIY Sheep Crafts group on Facebook. The community and I will be happy to help you! And remember to always…
Shepherd Like a Girl!
About Your Teacher

Julie LeeSong Norman is a recent transplant to Montana. Adopted from Korea, she was raised in Minnesota by Swedes and Norwegians – you betcha. She’s been knitting since pre-teens, has also learned to weave, spin, needle felt and dye. She has taught classes at yarn shops, women’s shelters and village groups all over Minnesota and India.
In Montana, she’s found a supportive group of fiber artists and is the co-chair of the Prairie Handspinners Guild in Billings and on the planning committee of two fiber events. When not playing with fiber, she’s most likely avoiding housework by hiking the hills, driving around to see mountains, reading or writing her next book or knitting pattern.
You can contact Julie by visiting her website or her Facebook page, The Pieceful Ewe.

