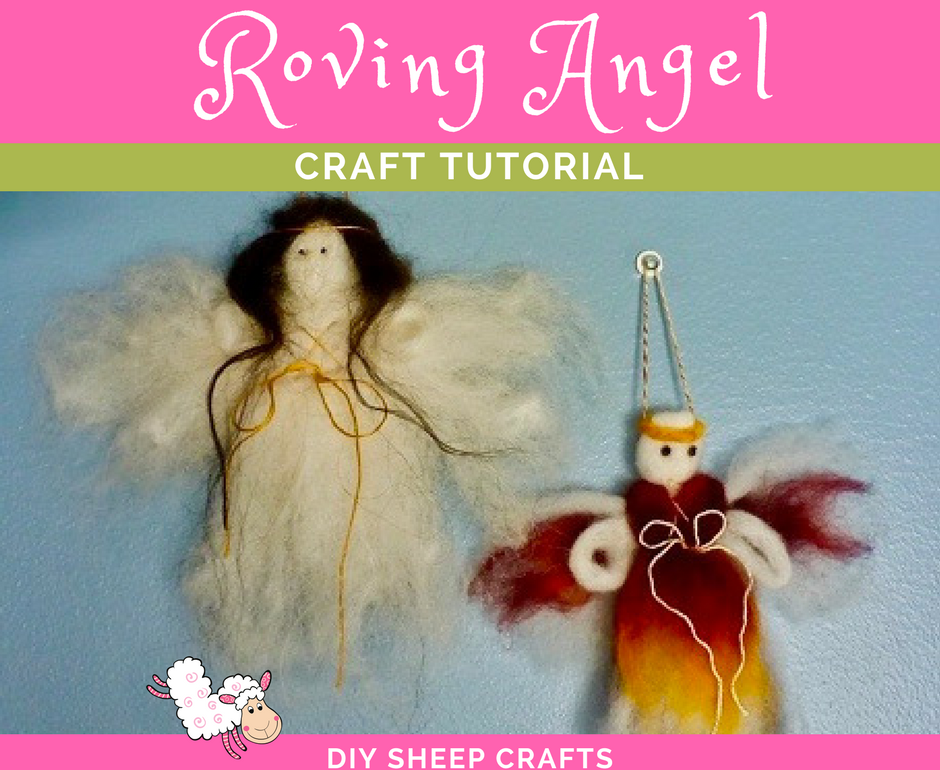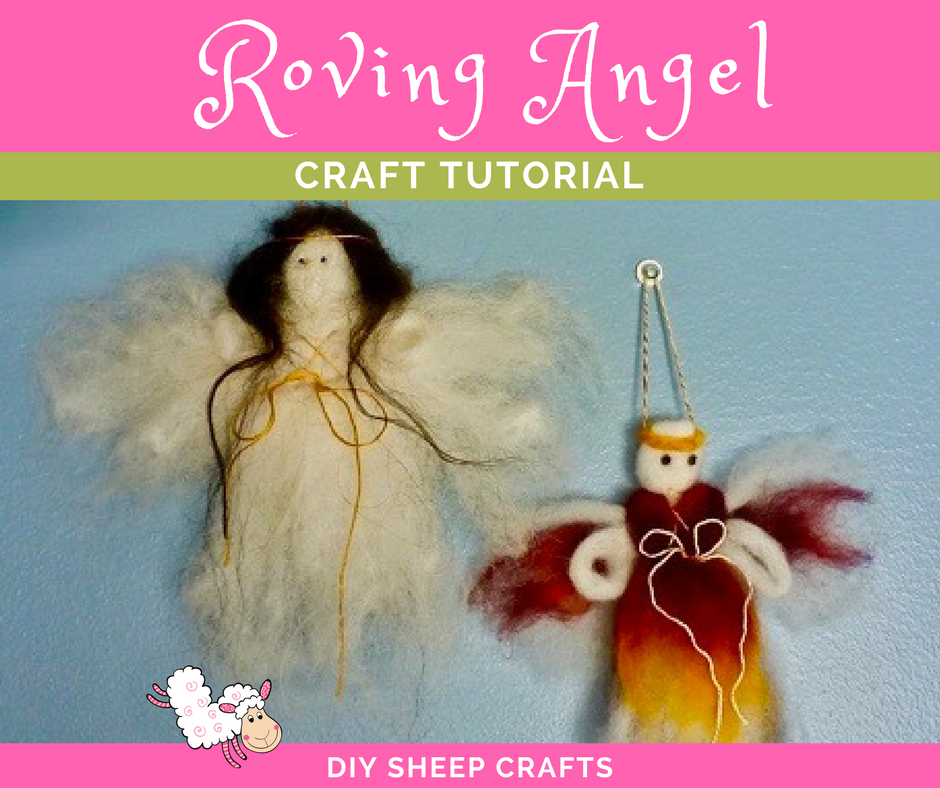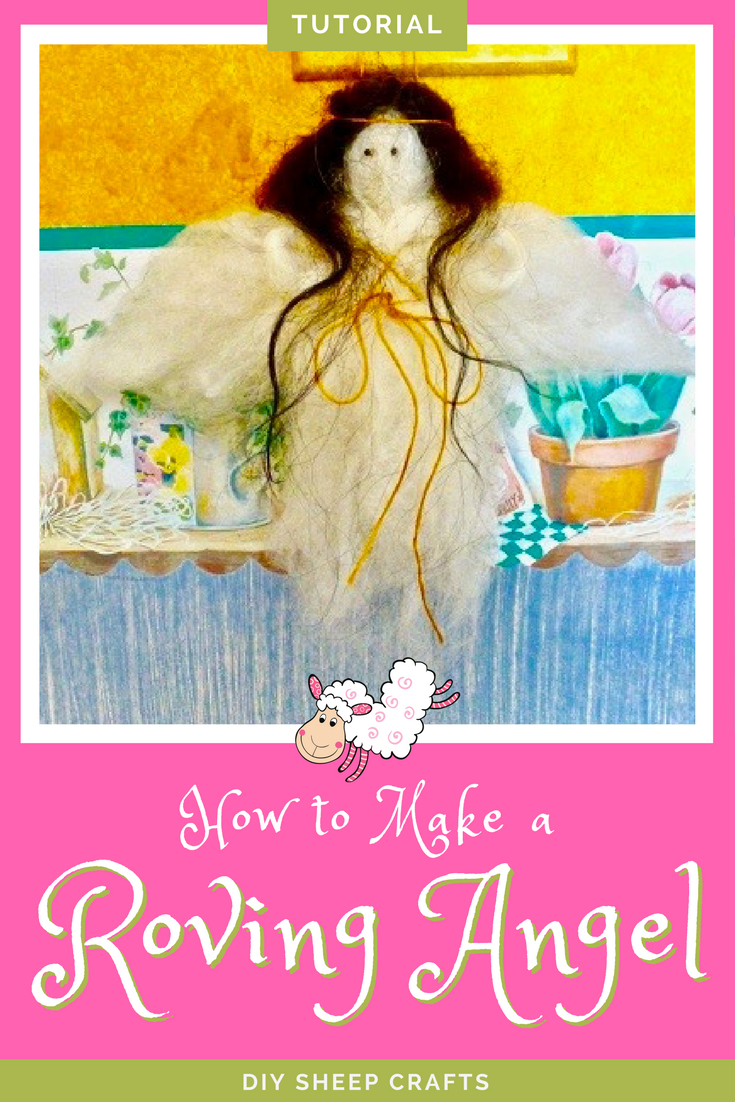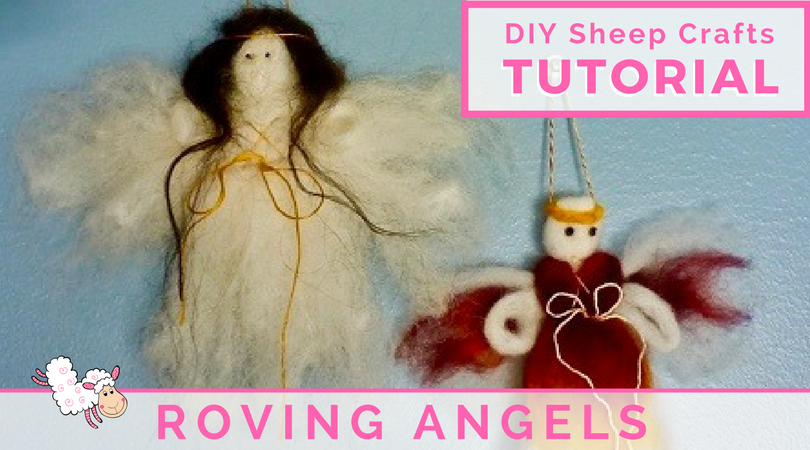
Guest teacher, Robyn Crowningshield, stops by the DIY Sheep Crafts blog to share her Roving Angel Tutorial. This detailed tutorial will take you through the process of making your very own Angel out of wool roving, step-by-step.
How to Make a Roving Angel
with Robyn Crowningshield
If you are new to fiber crafts, you may wondering, “What the heck is roving?”
Roving is a long, narrow, loose rope of fiber, most commonly wool, but it can be another type of fiber, or a sheep wool blended with cotton, silk, alpaca, goat, etc. The raw fiber is first carded (or brushed) so that the individual fibers are going somewhat in the same direction, and will hold the form of a long strand.
Roving is typically the prerequisite product needed in order to spin yarn. But, roving can be used for all sorts of other fun fiber crafts!
What You’ll Need
-
- Roving – 14 inch piece, white and 10 inch piece (white or colored) for body
- Roving – 8 inch piece, white & 7 1/2 inch piece (white or colored) for wings
- Roving – small 11 inch piece, white to roll for arms
- Yellow string (any color of your choice) – 10 inch piece for headband or a five inch piece of roving
- Yellow string (any color of your choice) – 21 inch piece for body bow
- Yellow string (any color of your choice) – 10 inch piece for the hanger
- Black eyes (glass eyes or two small pieces of black roving)
- Embroidery Needle
- #38 Felting Needle (all purpose)
- Felting surface that is at least 1 1/2 inch thick (like a sponge or foam piece)
- Scissors
If you would like to purchase a Roving Angel KIT from Robyn, please send her an e-mail.
Safety First!
Always practice good needle felted safety:
- Pull the needle out the same way you inserted it into the wool—do not twist or turn the needle
- Needle slower when working close to your fingers
- While working, always secure the needle in your foam when setting it down
Roving Angel Tutorial
There are many ways to make these beautiful angels…everyone will have their own style.
Step-by-Step
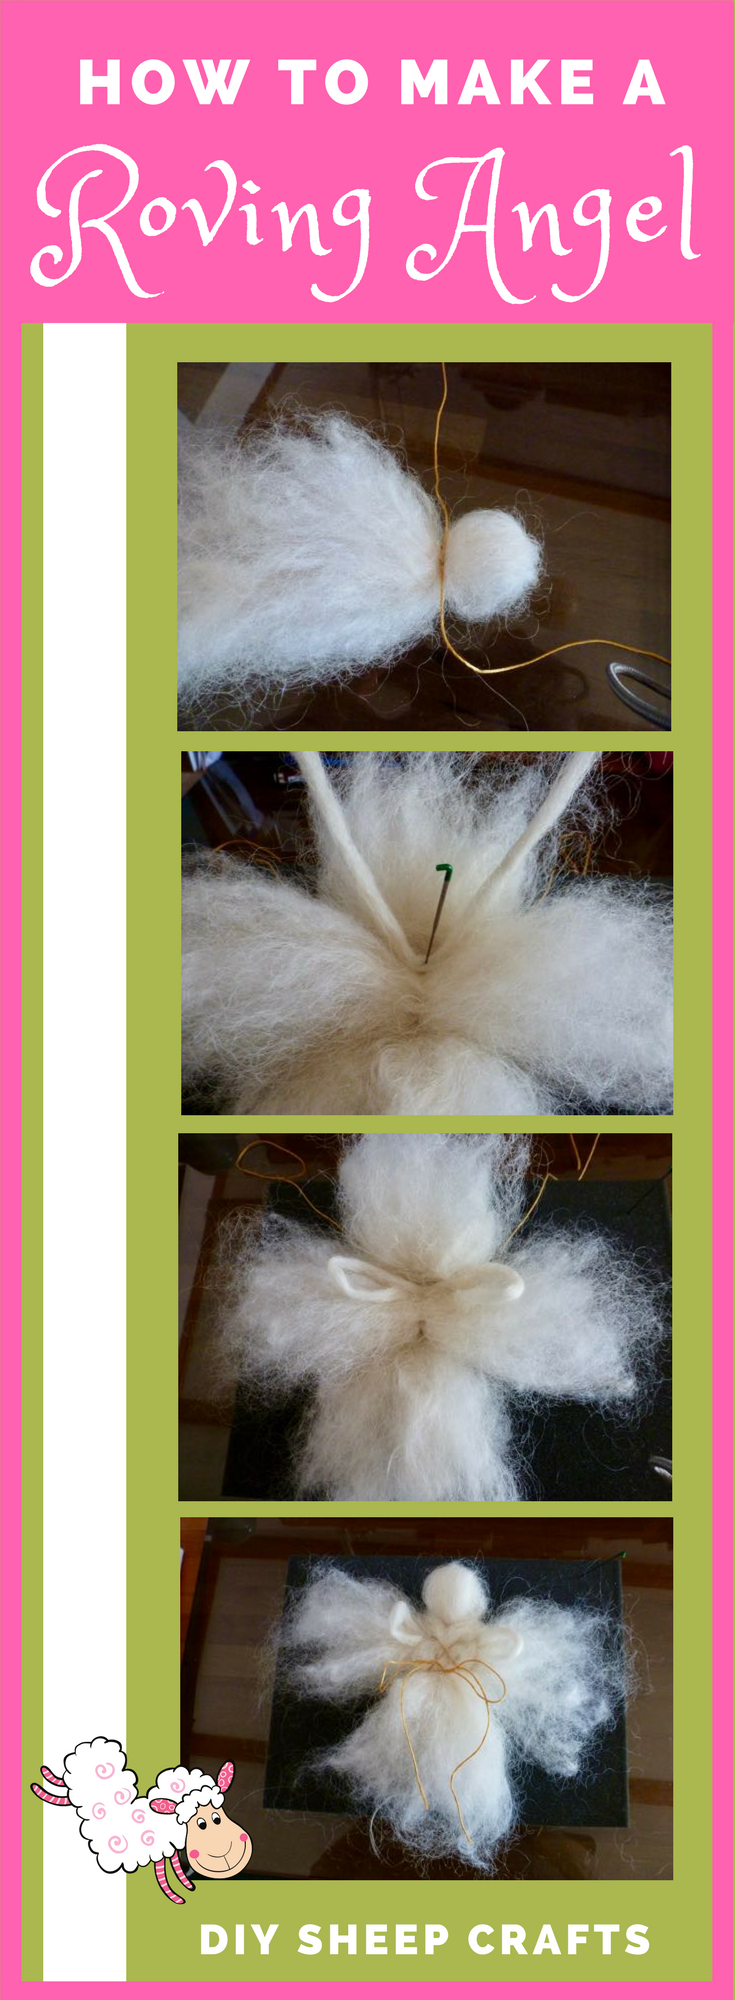
- Take the longest piece(14”) of roving and tie it in a knot. You need to make sure it is in the middle.
- Fold the top half over the knot.

- Place the longest piece of embroidery thread behind the head……below the knot. Bring it around front, even it out and tie a double knot. Leave the ends hang.
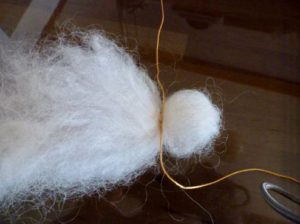
- Using the 10 inch piece, make a hole in the center of it with your fingers. This will go over the head. Make sure the embroidery thread is sticking out between the main body and the top piece.
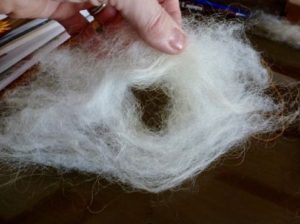
- Using the 38 gauge (red head) needle…….felt the shoulders around the head/neck area lightly. This is to pull the wool closer to the head.
- Separate the layers of the body…top and bottom. Pull the top half over the head. Lay the wings on top of body, horizontally. Put the 8 inch piece of roving on first then the 7 inch piece on top. Tuck it up next to the head.
- Lightly needle felt the wings to the body using the 38 gauge (red) needle.
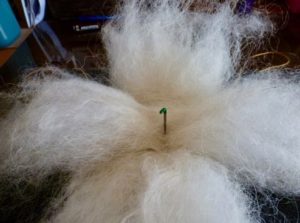
- Roll a small, thin log to be 12-14 inches long. This will be the arms.
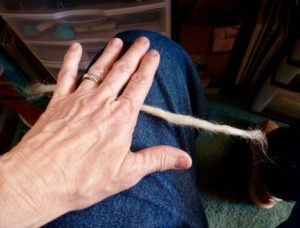
- Fold the rolled log in half and lay it on top of the wings……….close to the head. Needle felt it in place, lightly.
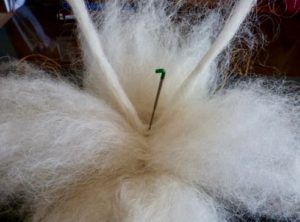
- Bring each end toward the center and needle felt the ends in place. You have now made the arms.
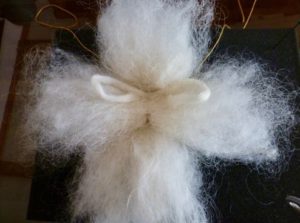
- Pull the body wool down, from over the head. Bring the embroidery yarn from the back and cross them in the front. Wrap the yarn around to the back. Wrap it around to the front then tie a bow.
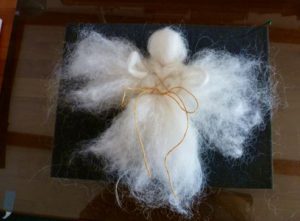
- Using the long locks needle felt on the hair. You can just place the fuzzy ends on the head and felt away. Pull some down over the shoulders. Felting to hold in place. Add more fuzzy wool around the front to frame face.
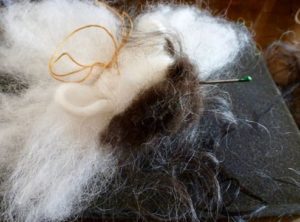
- Using the 10 inch piece of embroidery yarn, wrap it around the head, near the top, tie a knot in the back. Leave it hang.
- Add the eyes. You can either needle felt tiny pieces of wool or use glass eyes. If using the glass eyes, poke a hole, in head, where you want to put the eyes in…..add a drop of glue to hold in place.
- Using the other 10 inch piece of embroidery yarn………thread it through the embroidery needle. Run the embroidery needle through the head near the face, like shown. Tie the ends together and pull the knot back into the head.
- You can now groom your angel using your hands. Pull the wings to a tip and twist them. You may needle felt them, at the end, if you wish. Gently pull the body together.
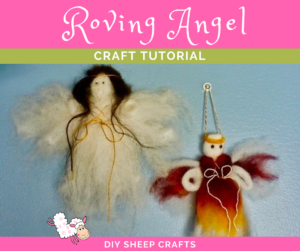
You have just finished your beautiful angel!
We hope you enjoyed making your Roving Angel! To see what other projects you can
make, and to learn more about Robyn’s monthly needle felting kits, visit Cozie Nook Homestead.
Cozie Nook Homestead – Robyn Crowningshield
© Robyn Crowningshield 2018
Happy crafting!
If you have any questions, or want to share your roving angel-making journey, head over to the DIY Sheep Crafts group on Facebook. The community and I will be happy to help you! And remember to always…
Shepherd Like a Girl!
About Your Teacher
Robyn Crowningshield, lives on her small family farm, located in Ashfield, Massachusetts. The farm has been in her family since 1914.
Robyn grew up on a dairy farm showing Brown Swiss. Her oldest boy started her sheep journey in 2001 with

a couple of meat breeds. Her youngest wanted sheep, at the age of five!
In 2004, Robyn bought our first Icelandic ewe lamb. Her family flock has grown and evolved into Cozie Nook Homestead.
Both of her boys showed sheep, and did well! They’ve brought home reserve champion over all breeds breeders flock, twice, reserve champion market lamb and reserve champion over all breeds ram twice.
Five years ago, Robyn started playing with wool. This was the start to her current wool business. She is a self-taught needle felter that loves creating unusual animals and wall hangings. She just started to weave, too.
Most of the wool she uses is from her Icelandic sheep. Ewe could say she fell in love!
You can contact Robyn by visiting her Facebook page, Cozie Nook Homestead.

