If you LOVE this tutorial, you are definitely going to want to enroll in the video course… it’s totally FREE and you get lifetime access. Join HERE.
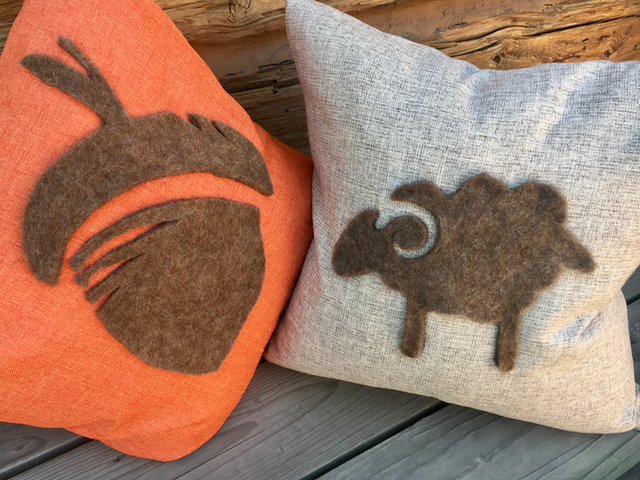
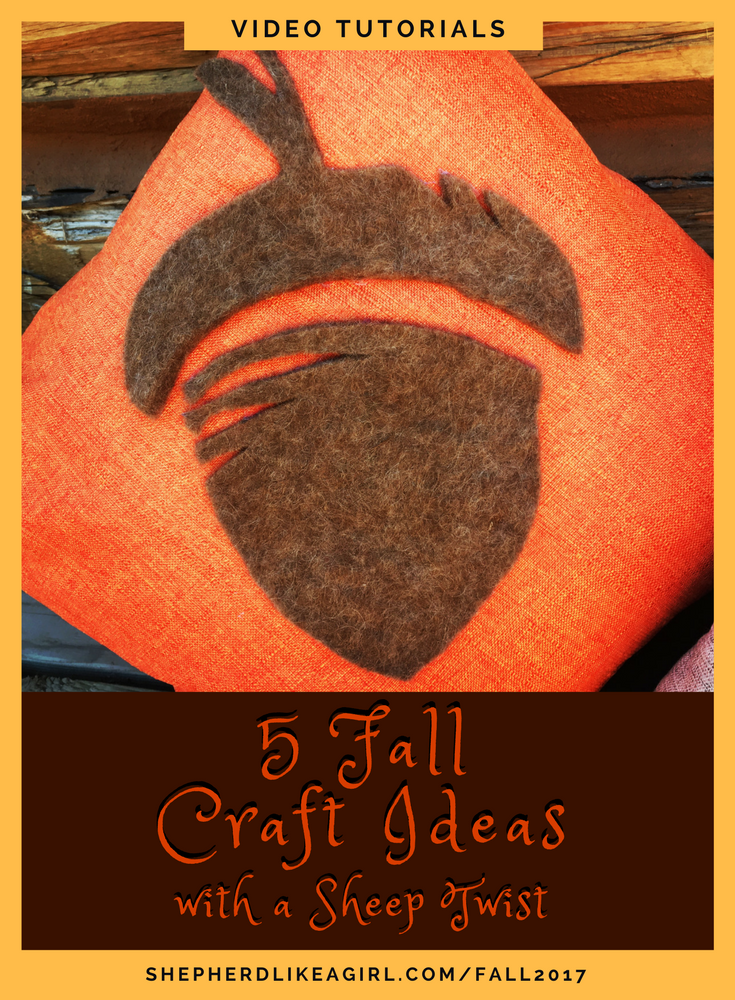
How to Make a Felt Silhouette Throw Pillow
Welcome to the wool felt silhouette pillow tutorial! I’m so glad you’re here 🙂 You are going to learn how to wet-felt wool to make your very own felt. Then, I’ll show you how to make a decorative throw pillow to adorn your home!
What You’ll Need to Make Wool Felt
- Wool Batting or Roving – it must felt (no Superwash)
- Bubble Wrap – two sections (I prefer this Spa Cover for its durability)
- Sheer Polyester Curtain
- Wood Dowel (optional Pool Noodle)
- Strings or Nylon Stockings – two or three sections
- Dawn or dish soap
What You’ll Need For Your Pillow
- Pillow Case – square 18″x18″ or 20″x20″
- Pillow Form – sized to fill pillow case above, duck feather or poly
- Hot Glue Gun and glue sticks
- Silhouette Stencil (or you can draw freehand)
- Sharpie or Pen
- Freezer or Wax Paper

Making the Wool Felt Sheet
Step 1: The Wool Layer
Lay one piece of the spa cover, bubble-side up, in a frame, cookie sheet, or on a flat surface. Using a frame of some sort is optional. You can just layer your batting or roving over the spa cover on the ground or on a table, if you wish. I prefer using the frame because it easier to get straight edges on the finished felt.
Make a thick, puffy-fluffy layer of batting or roving to your desired dimensions. I achieve this by quickly and repeatedly ripping off fairly small amounts of fiber from the batting or roving. The fibers should be laying is several directions.
Step 2: Just Add Water… Hot Water!
You’ll need a kettle-full of hot water for this step. Please, be mindful of the water’s temperature, and be careful not to burn yourself.
Place the sheer polyester curtain over the wool layer you just completed. This will help it to stay in place when you add water.
Drizzle the hot water out of the kettle, onto the curtain covering the fleece. Don’t soak it and just splash a little water at a time. You don’t want the fiber to move around too much, but you definitely want it wet.
Now that your fiber is wet, and the temperature of the hot water is bearable, press gently with your hands, straight down onto the fleece. You want the fiber to start compressing down and getting flat. All of the fiber should be wet, but not soaking. You may need to add more hot water, and keep pressing until all the loft is out of your wool layer.
Step 3: Add Soap and Agitate
Once the fiber is completely flattened out, add soap and agitate the fiber slightly by moving your hands back and forth, on top of the curtain. Then, lift your hands, place them in a new spot, and repeat. Be careful to not displace the fiber.
Keep doing this, adding water or soap if needed, until the wool layer starts to felt.
Step 4: Rollin’ Rollin’ Rollin’
It’s rolling time!
Remove the curtain and place the second layer of spa cover, bubble-side down (toward the wool layer) over your fiber to make a sandwich.
Next, take your dowel and/or pool noodle and place it at one end of the sandwich. Tightly roll the layers around the dowel and secure the package in two or three places with strings or nylons (with a bow so that you can untie them easily).
Roll the package on a flat, hard surface about 30 to 50 full rolls, gradually pressing harder as you go.
Untie, unroll, and repeat this rolling process three more times! Once from each side of the sandwich (top, bottom, left, right). Remove your felted piece from the wrappings.
Step 5: Finish the Felt
Drizzle with hot water and squeeze some Dawn dish soap in thin stripes onto the felt piece. When the water is a tolerable temperature, rub the felt with your “grr” fingers and add in some palm rubbing for good measure. The goal is to tightly felt both sides. If your felt project is starting to pill, add more soap.
Test your felt by pinching a small bit of fiber and pull up. If it easily separates, you have more work to do!
Once you are satisfied with the amount of felting, rinse and roll the felt sheet until all of the soap is washed out.
Making the Wool Felt Silhouette Throw Pillow
Step 1: Make the Felt Silhouette
Determine what silhouette shape you would like to use to decorate the throw pillow. I recommend using a paper stencil, but you can also draw something freehand onto the felt.
Take the piece of felt you just made (make sure it is completely dry) and trace around the paper stencil with a sharpie or pen directly onto the felt.
Use sharp scissors to cut out the felt pieces you just traced.
Step 2: Glue the Felt onto Pillow Case
Make sure your hot glue gun is hot and ready, and you have lots of extra glue sticks on hand. Place a sheet of freezer or wax paper into the pillow case to keep the glue from going through to the other side of the pillow fabric.
Carefully, apply glue to the backside (usually the side with the visible pen marks) of your felt piece. Do this in small sections and methodically press the glued-side of the felt onto the pillow case. Continue to glue down small sections until the entire felt piece is secured.
Step 3: Stuff Your New Pillow!
After the glue has cooled, you can remove the wax paper and stuff your pillow with the pillow form. Zip, fluff, and all finished!
Don’t forget to enroll in the VIDEO course. It’s completely FREE!
Need support? Start a conversation in the DIY Sheep Crafts Facebook community. See you there!


